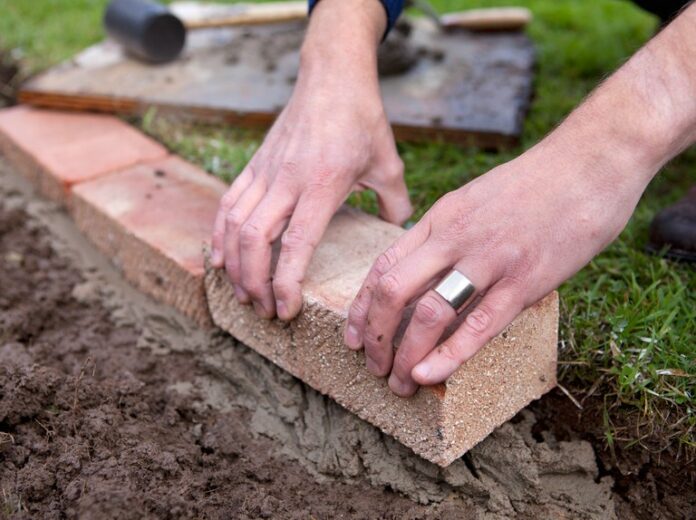
A garden border can enhance the overall look of your outdoor space, and using bricks to create a curved design adds a touch of elegance and character. Whether you’re an experienced DIYer or just starting out, building a curved brick garden border is a relatively straightforward project that can be completed in just a few days.
Supplies and Tools You’ll Need
Before you begin building your curved brick garden border, make sure you have the following supplies and tools on hand:
- Bricks (choose a type that complements your garden’s style)
- Sand
- Cement
- Gravel
- Water
- Shovel
- Trowel
- Level
- String line
- Mason’s hammer
- Chalk line
- Brick saw or masonry blade
Planning Your Border
To create a curved brick garden border, you’ll first need to plan the design. This can be done by drawing a rough sketch of your desired shape and then using a string line to mark it on the ground. It’s important to keep in mind the size and spacing of your bricks when planning the design, as this will affect the overall look of the border.
Preparing the Base
Once you have your design in place, it’s time to prepare the base. This involves digging a trench around the perimeter of your garden border and then filling it with a layer of gravel. The gravel should be compacted to provide a solid base for the bricks to rest on.
Next, mix sand and cement in a ratio of 3:1, and add water until you have a thick, paste-like consistency. Spread this mixture over the gravel to create a foundation for the bricks.
Laying the Bricks
Now that the base is prepared, it’s time to start laying the bricks. To ensure that each row of bricks is level, use a level as you work. If you need to make any adjustments, simply add or remove some of the sand and cement mixture beneath the bricks.
When laying the bricks, start at one end of the garden border and work your way to the other. As you lay each brick, make sure to stagger the joints for stability. This will also help to prevent cracking over time.
Cutting Bricks for the Curve
If your garden border design includes a curve, you’ll need to cut some of the bricks to fit the shape. This can be done using a brick saw or a masonry blade. When cutting the bricks, be sure to wear protective gear, such as gloves and safety glasses, to avoid injury.
Finishing Touches
Once all of the bricks have been laid, use a trowel to smooth the sand and cement mixture between each brick. You can also use a mason’s hammer to gently tap the bricks into place if they’ve shifted during the laying process.
Finally, use a garden hose to rinse the border and remove any excess sand and cement mixture. You can also use a brush to clean any dirt or debris from the surface of the bricks.
Frequently Asked Questions:
Q. How deep should the trench be for the curved brick garden border?
A. The trench should be 4-6 inches deep.
Q. How many bricks do I need to build a curved brick garden border?
A. The number of bricks you need will depend on the size of your garden and the size of the bricks you’re using.
Q. Can I build a curved brick garden border myself or do I need to hire a professional?
A. With the right tools and materials, you can build a curved brick garden border yourself. However, if you’re not confident in your ability to build the border, it may be best to hire a professional.


